Isn't it so cute? Doesn't it have potential? AND FOR ONLY $1!!! How can it go wrong?


So I figured I would just spray paint the thing white and redo the seat and VIOLA--it would be awesome. WELL--HERE COMES THE LESSON LEARNED WITH THIS PROJECT...
ALWAYS, I repeat, ALWAYS--prep your wooden surfaces before painting. I am not an expert at painting--so I did not sand this chair before starting--BIG MISTAKE!!! I primed and painted only to have the paint crackle and bubble and peel off!!! SO--then my hubby and I sanded it a little and did the whole thing over again! And learned another important lesson...
A little surface sanding OVER paint (if you haven't sanded properly in the beginning) does NOT FIX THE PROBLEM!!! How did I learn this you may ask? WELL--because after sanding it a little--we primed and painted AGAIN. Only to have the EXACT SAME PROBLEMS--CRACKLING and BUBBLING and paint coming off!!!
By this time I had used almost 2 cans of spray paint and 1 of primer on this little adventure. AND I had definitely used up all my patience!!! SO at this point I said I don't care anymore--lets give it one more light coat and call it good.
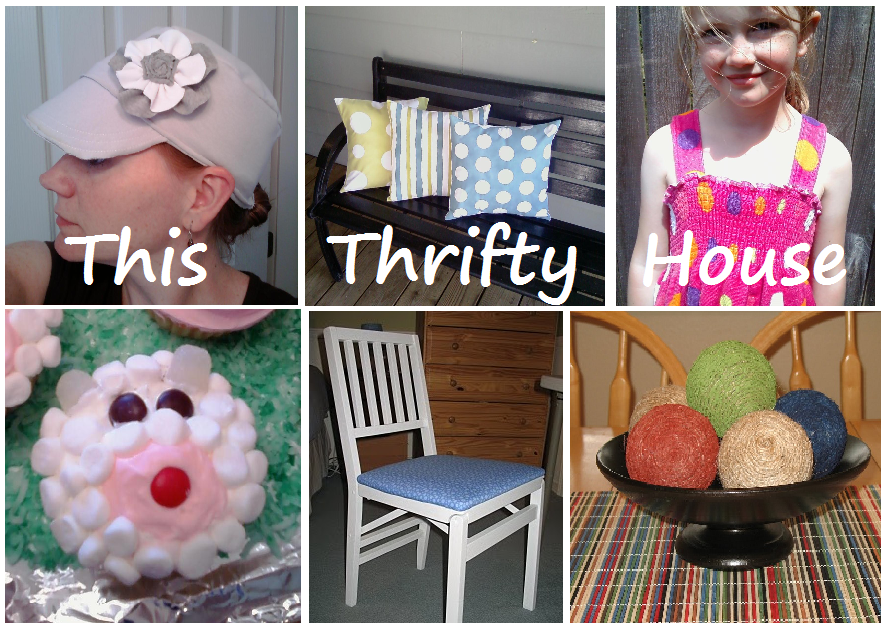
So here are the pictures of the seat re-do:

If you are adding batting to a seat while covering it--I recommend stapling the batting on separately instead of doing the fabric and batting all in one step. This way if you ever want to change out the fabric--you don't have to re-bat the whole thing.
And I didn't bother to take off the original covering because it wasn't going to hurt anything by keeping it on. I just cleaned it really good and stapled everything right over top!
So here is the finished project (don't look too close)--but as my dad always says--from the Post Office it looks great!


Oh and super cute new title - you smarty pants!
ReplyDeleteIt looks SO great! Honestly you would never guess it caused you so much stress and hard work. I even zoomed up on it and you can't tell it had any issues at all. Cute!
ReplyDeleteThat is so awesome! I wish there was a Dollar Thrift Store by my house! I'm jealous.
ReplyDeleteI was just reading through your archives, I'm a new reader and LOVE your blog. I saw this post and noticed your sewing table. I have one like it and to hide the fact that it's a folding table, I took velcro and went around the edege of the table (not the whole thing just in spots and then attached a fabric skirt with the matching pieces of velcro to hold it in place. This way my table is cute and hides whatever I've stored under the table. Plus if I ever change my room theme I can just change out the skirt with a new one! Just thought I'd share in case you were looking for a new idea for it. :)
ReplyDeleteSo, where does one find this amazing thrift store??
ReplyDelete